

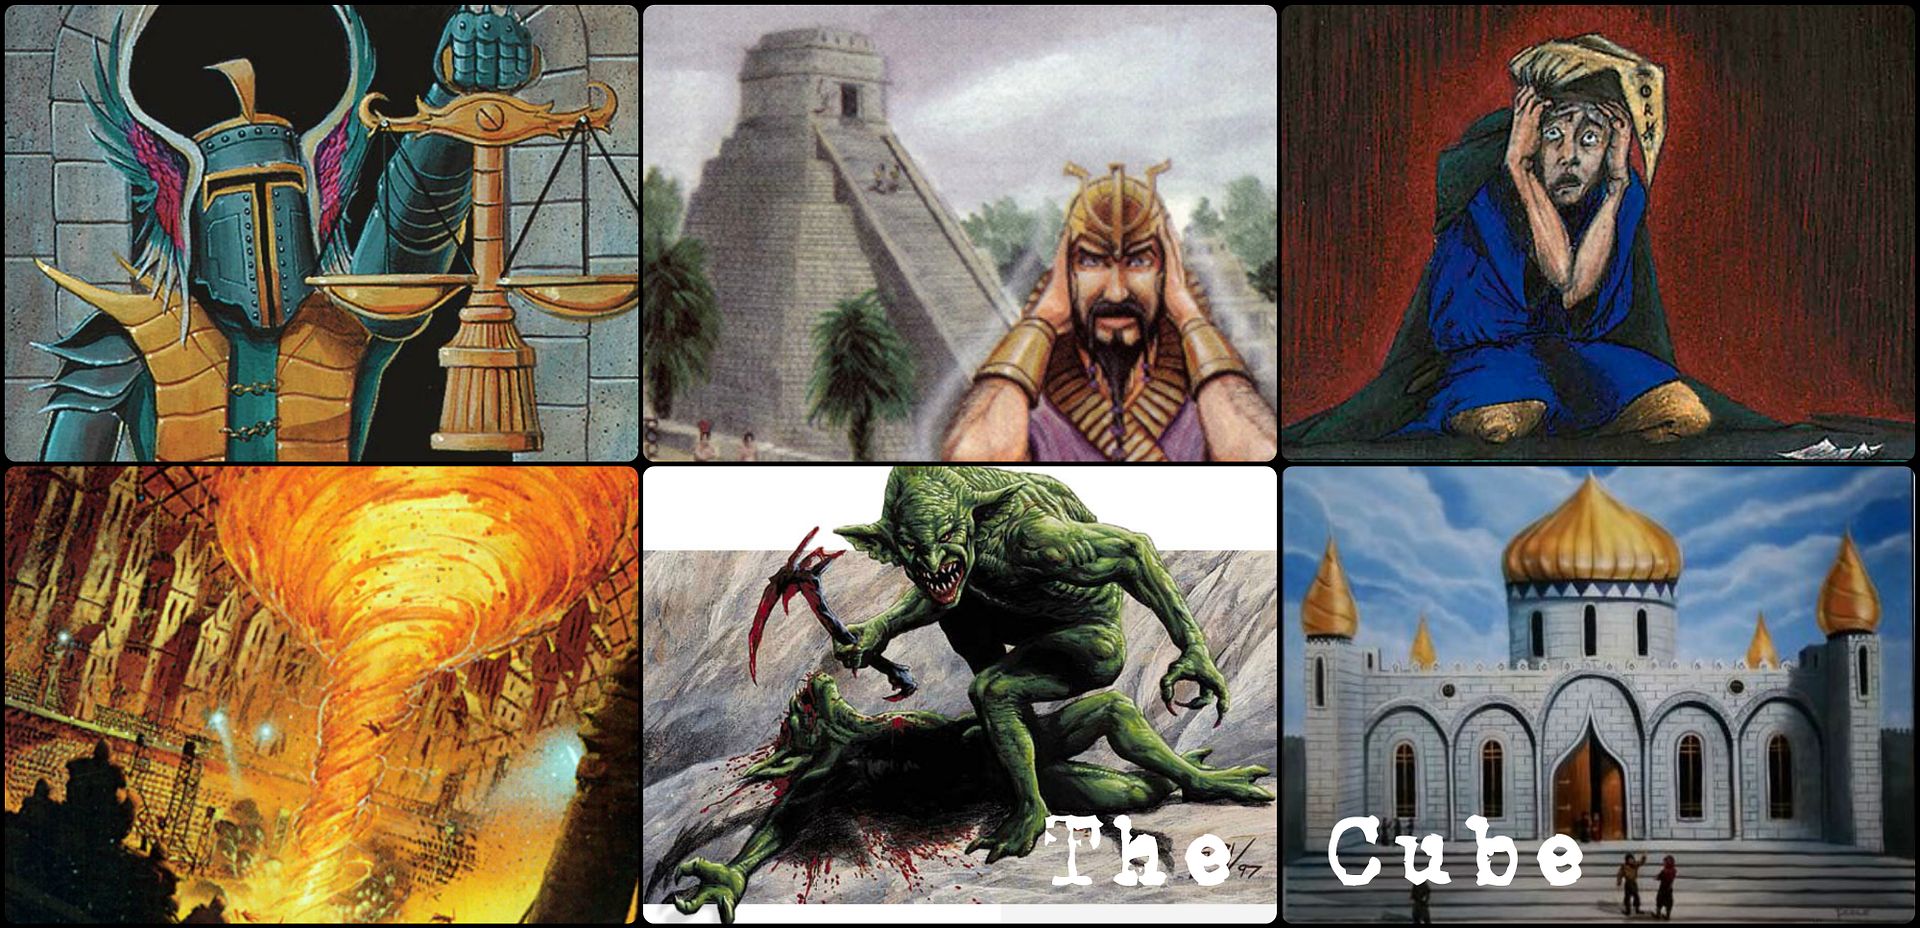
Cube Maxim
I aim to create the most fun, exciting, powerful and balanced custom limited environment
that I can for my playgroup within the confines of a Vintage legal and Singleton legal frame.
that I can for my playgroup within the confines of a Vintage legal and Singleton legal frame.
Basic Info
Cube Size: 450 Cards
Breakdown: 55 Each Color, 105 Guild/Multicolor, 70 Colorless
Standard or Theme Cube: Standard
Average Draft: 3-6 players
Cube CMC: 2.762
Design Restrictions
Powered?: Yes
Vintage Legal?: Yes
Singleton Legal?: Yes
The only cards I ban from the cube are cards that aren't Vintage legal (Ante cards, Dexterity cards, Un- Cards, Conspiracies & Holiday Promos, etc), cards that can't function within all game types (like draft manipulators that are blanks in Sealed Deck, or cards that would require a commander to function, etc) and cards thar reference "outside of the game" as a zone (Wishes, Companions, etc).
Color Balance?: Yes
Guild Balance?: Yes
 Mana Support?: No
 Mana Support?: No
Other Info
Here's a link to the cube on CubeCobra if you want to mock draft it:
https://cubecobra.com/cube/list/wtwlf123
I wrote a cube article about the fundamental cube design questions, and how I decided to build my cube to cater to my playgroup. The article was designed to help those folks that are still in the incipient phase of cube building, and may need some pointers on how to balance the cube for smoother drafts and gameplay. But hopefully even the veteran cube managers can find at least some useful information on how to streamline the cube and better enable aggressive archetypes. Here's a link:
"Cube Design Philosophy"
I also wrote an article that deals with managing your manabase when cubing, and the impact those mana demands have on drafting, deck-building and constructing the cube. Here's a link to that one:
"Mana Short: A study in limited resource management."
Feel free to post comments on the article page or here in this thread with any questions or comments!
Additionally, I've written some Set Reviews in the form of top 20 countdowns based on set previews. Note, these are written as set previews, not necessarily set reviews, but here's the links to them anyways:
My Review #01 - Discusses my top 20 Cube cards from AVR!
My Review #02 - Discusses my top 20 Cube cards from M13!
My Review #03 - Discusses my top 20 Cube cards from RTR!
My Review #04 - Discusses my top 20 Cube cards from GTC!
My Review #05 - Discusses my top 20 Cube cards from DGM!
My Review #06 - Discusses my top 20 Cube cards from M14!
My Review #07 - Discusses my top 20 Cube cards from THS!
My Review #08 - Discusses my top 20 Cube cards from BNG!
My Review #09 - Discusses my top 20 Cube cards from JOU!
My Review #10 - Discusses my top 20 Cube cards from M15!
My Review #11 - Discusses my top 20 Cube cards from KTK!
My Review #12 - Discusses my top 20 Cube cards from FRF!
My Review #13 - Discusses my top 20 Cube cards from DTK!
My Review #14 - Discusses my top 20 Cube cards from ORI!
My Review #15 - Discusses my top 20 Cube cards from BFZ!
My Review #16 - Discusses my top 20 Cube cards from OGW!
My Review #17 - Discusses my top 20 Cube cards from SOI!
My Review #18 - Discusses my top 20 Cube cards from EMN!
My Review #19 - Discusses my top 20 Cube cards from KLD!
My Review #20 - Discusses my top 20 Cube cards from AER!
My Review #21 - Discusses my top 20 Cube cards from AKH!
My Review #22 - Discusses my top 20 Cube cards from HOU!
My Review #23 - Discusses my top 20 Cube cards from XLN!
My Review #24 - Discusses my top 20 Cube cards from RIX!
My Review #25 - Discusses my top 20 Cube cards from DOM!
My Review #26 - Discusses my top 20 Cube cards from M19!
My Review #27 - Discusses my top 20 Cube cards from GRN!
My Review #28 - Discusses my top 20 Cube cards from RNA!
My Review #29 - Discusses my top 20 Cube cards from WAR!
My Review #30 - Discusses my top 20 Cube cards from M20!
My Review #31 - Discusses my top 20 Cube cards from ELD!
My Review #32 - Discusses my top 20 Cube cards from THB!
My Review #33 - Discusses my top 20 Cube cards from IKO!
My Review #34 - Discusses my top 20 Cube cards from M21!
My Review #35 - Discusses my top 20 Cube cards from ZNR!
My Review #36 - Discusses my top 20 Cube cards from KHM!
My Review #37 - Discusses my top 20 Cube cards from STX!
My Review #38 - Discusses my top 20 Cube cards from AFR!
My Review #39 - Discusses my top 20 Cube cards from MID!
My Review #40 - Discusses my top 20 Cube cards from VOW!
My Review #41 - Discusses my top 20 Cube cards from NEO!
My Review #42 - Discusses my top 20 Cube cards from SNC!
My Review #43 - Discusses my top 20 Cube cards from DMU!
My Review #44 - Discusses my top 20 Cube cards from BRO!
My Review #45 - Discusses my top 20 Cube cards from ONE!
My Review #46 - Discusses my top 20 Cube cards from MOM!
My Review #47 - Discusses my top 20 Cube cards from WOE!
My Review #48 - Discusses my top 20 Cube cards from LCI!
My Review #49 - Discusses my top 20 Cube cards from MKM!
My Review #50 - Discusses my top 20 Cube cards from OTJ!
Enjoy!
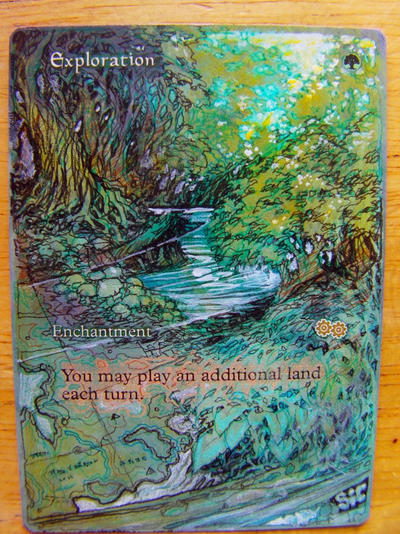
I was invited to be a guest on the MTGin3D Podcast with Liam and Pedro. Here's a link to that episode ...give it a listen!
MTGin3D Episode #5 - Exploration
I was invited on as a guest for the "What's In The Box!?" Podcast with Zakeel and Drew. Here's a link to that episode:
What's in the Box EP8 - Community Spotlight: wtwlf123

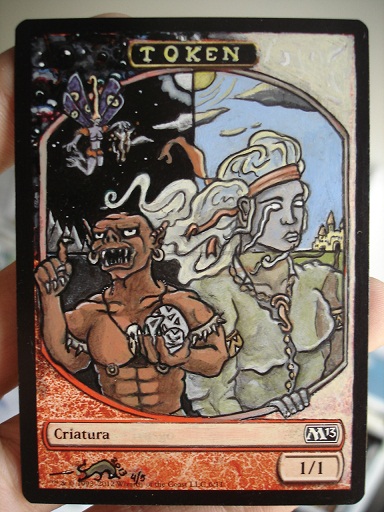


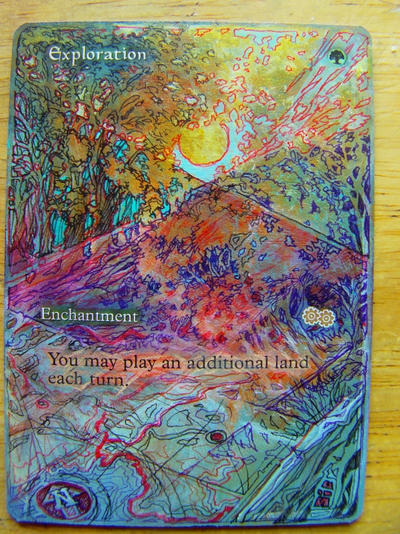


 I was not quite sure how to do the title on the card since it doesn't have the border around it. The paint on the top half of the card looks rough in this picture but it looks better in person. I'm looking to improve so all constructive criticism is much appreciated!
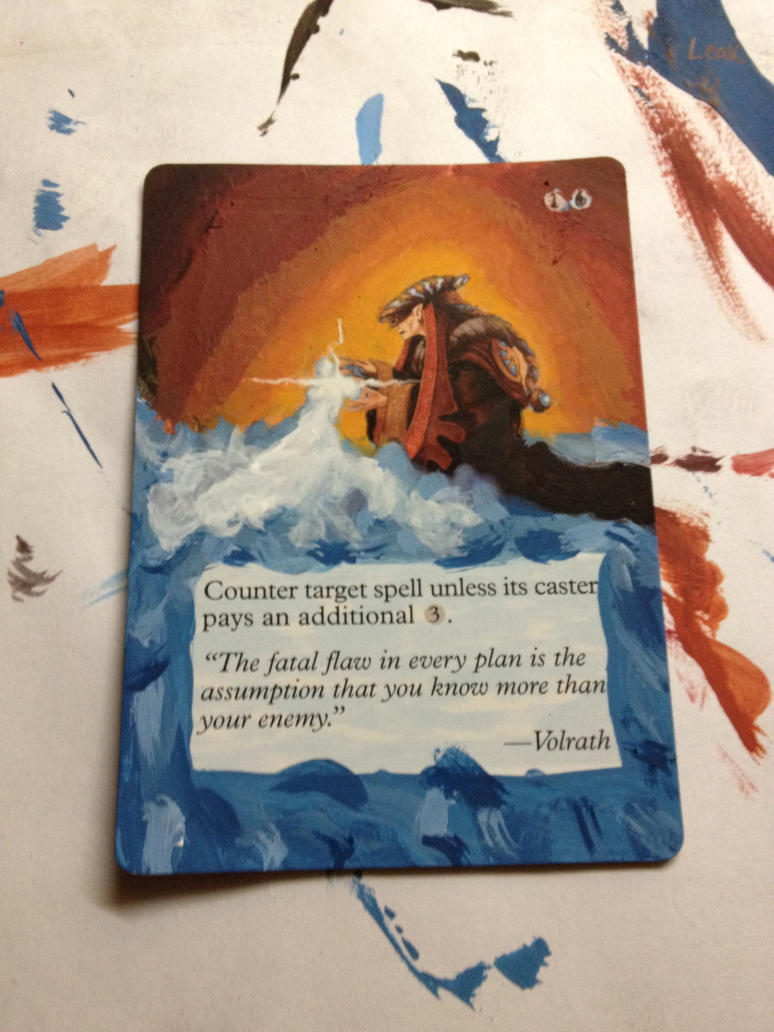


1
Standard players (because the Magic community is clearly segregated by formats..? huh..?) actually drive most of Wizard's business, and usually get shafted the most. Prices, availability, rotations, promos... they get the short end of the stick more often than not (but get more support at FNMs I suppose- but that's a silver lining).
Every other format is mostly handled on the secondary market, and don't have to deal with rotations at all really. So I can understand the disappointment when products clearly aimed at trying to be relevant fall short by a few months, etc (FNM promos are legendary for arriving a second after they were actually legal/playable).
The Magic community is a single entity, what or how you play is personal. Hating on a portion of the community because you don't perceive their issues as valid is unproductive, since their issues will probably effect everyone else in one way or another.
Anyways, I love the art, and both planeswalkers are playable. I'll grab one.
1
1
from League of Legends
Gandalf from LotR
from Princess Mononoke
from Dr. Who
1
1
I've never risked/bothered, I'm not even positive they are allowed as proxies. Maybe for a token, the gold border might be a nice change of pace from black/white?
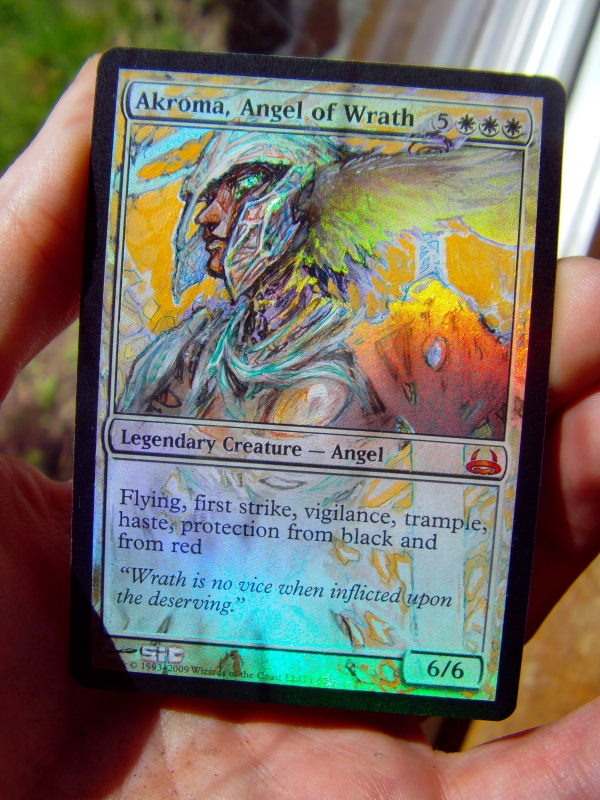
Bad photo made worse due to the foil aspect of it, but posting regardless :S
1
1
3
Have a fun weekend, I'll be doing combat math myself.
1
For me, it is a side income doing something I love (art!), involving another thing I love (magic!). I've seen cards that I was proud of go for as much as I felt they should, and cards that were merely ok by my standards go for much less. People can see the quality, and if that Thoughtseize weren't so well done, it would never be seeing that kind of bidding.
I also try to level out that need when commissioning- I feel that a nice balance between my time and work should come about even with the quality and coolness of what the buyer is getting. I'm not going to go into prices, as I'm sure they are all over the ballpark right now (agreed, an "Altered Art" union of sorts would be cool to help with this stuff :)), but right now I'm starting a commission for 4 Spider-Man alters, and the only thing I can think of is "THIS IS SO COOL. I GET TO PAINT AWESOME SPIER-MAN PICTURES ON A MAGIC CARD AND GET PAYED FOR IT". Sure, I'm an uber nerd, but that kind of feeling can't be found doing some menial job (the one I still have to do :D), and I'm hoping that the end result makes the consumer happy to boot.
Anyways, seeing as a few people have dabbled in the "Step-by-step" (please forgive the double post, only so many attachments per post!) approach, I decided to take pictures every step of the way doing a chinese Chrome Mox (which was kind of a weird art to alter btw!) for a commission. So besides posting my first alter for 3 days (I've been busy though!).. Hope this helps people, if I forgot anything, let me know fellow artists!
Step 1. Materials
Just ask yourself: What would McGyver do?
Grab your materials. I will be doing this in acrylics for a few reasons: They are easy to work wiht, as they blend, and can cover lines and the card itself very well. They are also kind of elastic by nature, so it will dry appropiately on the card without fear of cracking or something (if you use oils, prep them properly! and forget watercolors!). In a few cases (which I'll cover), they are also easy to work with in case of mistakes. Markers are very hard to use, as they are harder to blend, and blending is a key to making the card look as seamless as possible (for borderless alters anyways. for superhero custom work, go right ahead!). They are also less forgiving in most scenarios. Kudos to anyone that has success with them!
So grab your paints, multiple THIN brushes (you are working on a tiny canvas!), an eraser, a pen and pencil (for various detailing or sketching beforehand), some tape, and... oh yeah, a Magic card ready to be made into awesomeness.
A quick note. Just like a newborn puppy, you will be making quite a mess most of the time. Try and get a surface beneath you that won't mind getting covered in streaks of hard-to-remove paint. A trashcan nearby will help you from making multiple trips. (can't help with the bathroom trips though)
Step 2. Prep work
I watch in horror as my Chrome Mox starts blending in with my table...
So you are ready to alter your card. There are a few places to start. We are going to go ahead and do some precautionary erasing. This is semi-optional, as the paint WILL sometimes cover the borders on its own, and therefore doesn't need the erased card to work. However, a few things arise in the process- you DON'T want to see any borders/lines beneath the paint. Erasing makes sure this doesn't happen. You also don't want to have to put too many coats on to cover them up. Thinner the better (though don't worry too much about that- even thick, it's still pretty thin).
As you can see in the picture, it doesn't have to be pitch-white either, just enough to not see that bold black border underneath. I've heard different things about erasers (ink erasers are supposed to work well), but I've found that a generally hard eraser works fine. Just be careful how hard you scrub sometimes, if the card gets caught up, and you lose hold, it CAN get bent in your erasing frenzy.
The tape comes in handy here- you can erase to your heart's content, without worrying about erasing the box away. Just a quick note though: try and stick your fingers on and off the tape a little beforehand, just to get a little of the glue off. The tape can sometimes bond too much to the card, and can either take a layer of paper off, or worse. Just a precaution.
Step 3. Ready... Set... Paint!...?
Donato Giancola laughs in triumph over his impossible-to-blend color scheme!
You knew this was coming. So the card is taunting you with it's bare, ready-to-be-painted edges. Time to step up! Get your pallete ready with all the colors you think you might be using. Looking at Chrome Mox's picture, it was a little daunting- it's not only a very detailed picture (damn you Donato!), but the colors in the background range all over the place, and are very subtle. But identifying the base color in any card's art will help you out, as it's that base that you will build off of with the light and dark details. The base here appears to be a light greyish beige (beneath the weird rainbow and black smudges). You can see that the blacking hints are already starting to blend towards the bottom edge of the card. Don't be afraid to go back to the mixing board to get it right- because getting it right will result in a much tighter, much more seamless card. The light grey at the top didn't mesh for me, and I needed to remix my colors. The small dash of light brown in the middle of that grey seems to match pretty perfectly, so besides a few variations in darkness, I'll continue with that shade to finish my base coat.
Also, tape is still an option to not worry about going into the text boxes/name/cc. You can see I strayed into the textbox a little. It won't be the first time. Taking your time, and avoiding that is best, but we're only human.
Another note at this step, and an important one: Don't be afraid to go into the picture a little! Blending your paints into the picture is what will make it seamless. You erased those borders for a reason!
Ignore my ugly brush- I need new ones.
Step 4. Finding your snow.
A fuzzy picture to hide my shame...
Alright. While you were gone, I finished up the border's base coat, with what I thought was looking good, till I took a step back. As you can see, the range from light on top, to the black on the bottom, seems to fit the picture, but DAMN does it look ugly being only grey and black.
But take heart! This is natural. You have to see that we've not only just begun, but with acrylics, you are able to cover your tracks, or at least try.
As you can see, I've gone out of the lines quite a bit (insert Peter Griffin quote here), but we'll cover that at the end, when we clean this sucker up. Still, it's not encouraged, just don't rip the card up, and snap your brushes in half if you do.
The base coat is still an important step, as you are setting the flavor of what you will paint over it. Painting a Snow-Covered land? Most likely you will be painting half of it some shade of white. Sure you will blend blues, purples, greys and blacks into it, but that's all additional. Chrome Mox's snow is beige, slowly fading into brown. If that makes any sense. <_< So going by the artist's picture, try and evolve of of that and start adding your colors, and the start of your details.... (that means move onto step 5!)
Step 5. Colour or Color?
And you guys thought I had given up hope! Take that, evil Magic card art!
So, here we are. As you can see, I've done my best to incorporate not only the colors and background of the picture to the edge of the card, you also have to work the way the artist did. The style he worked with will most likely be the style that dictates you here, because you are *ahem* extending HIS (HER) art.
Like I mentioned before, matching the colors, and blending it just right will help you the most here. Those little flecks of greens, pinks, browns, and blues all seem kind of random, but in the end they develop into a pretty good idea of what Donato was thinking when he did the first 80% of the card's art.
I won't lie, this was pretty difficult to match, as it was very easy to tell if the flow wasn't quite working. Patience, and blending, blending, blending will eventually win out though, keep trying!
But what's this? I can't just match the pretty random-color-background-thingy? He had to go and add those little detailed pendant chains. Let's trudge onto step 6!
~NEXT POST~
1
Step 6. The little things
The Chains of Mephistopholes have nothing on... THE CHAINS OF CHROME MOX!
So we've got to do that chain. Details like this on something this small can be rediculous, but don't lose heart! When you do paint on a card, people DO understand this, and will accept artistic license when you
were too sucky to do it rightpreferred to keep it in your own style. >_>So start by getting your finest brush. With this, I started out by putting the darkest layer down first (black/dark brown), and slowly work my way up the lightness scale, so to speak. I put some light brown/pink accents on the underside of the chain, to match the ones in the art, and finish it up with light grey to white reflections on the top of the chain. The thinner the brush, the better, as you are basically doing the tiny surgeries that give the card's art a real oomph to the viewer. For black details, an ink pen will work pretty well on top of the acrylic, but just don't scratch it too hard (it will tear up paint, and make a big mess of things), get it on the name/cc/textbox, or smear it, as it won't come off.
I won't lie- this isn't the proudest part of my tutorial. The chain on this card was very difficult to do as detailed as Donato did it, and although I did my best for now, it will be a challenge for another day. Overall, I still think it looks good, and matches the card well enough that the desired effect worked.
So, we are coming to a close on the details, but the card is starting to look pretty shoddy with all the acrylic where it isn't supposed to be. Using a Pact of Negation I was doing as an example, view the next step to see how I deal with that.
Step 8. Finishing touches (aka, fixing your mistakes)
Pact of Sloppiness. If you don't pay the upkeep, nobody will buy it! And that means you lose the game. Of life.
OHNOES. Yup. You got crap on your card (in the namebox for those that can't see glaring faults...). Not only that, but it's where it shouldn't be. Unless for some reason you are going for the "sloppy and ugly" look, your card should be as scrisp and clean as possible. It helps it look professional, it adds to it's value, and don't forget that your cards represent your work as a whole, and should therefore NOT represent the aforementioned "sloppy and ugly". It should represent "awesome, leet, beautiful work". So yeah. That poor Pact of Negation has been turned into an abomination.
Let's fix it! Start by grabbing a toothpick. Next, you are going to be LIGHTLY scratching off that rebel acrylic paint. Acrylic will easily come off if scratched, but you need to take your time, and do it slowly and carefuly, as you don't want to A) scratch into your previous work, or B) scratching into the card. It can be done, just be careful and patient:
Go-go-gadget toothpick!
And presto, you've fixed that problem. You should keep this trick in mind when you screw up here and there, but it can't be relied upon every time. Every now and then the paint will stain the card, regardless of whether you scratch it off, or you will miss, and go into your previous paint job, and have to repaint it, etc. It's just there, so you don't panic every time you cross the border.
FINISHED
YAY!
I took the liberty of putting some light color into the textbox, to reinforce the flavor of the card, and what it does. but other than that, it's finished! Next and final step (if you can call it that), is to help out the card's durability. Obviously, if you can erase parts of it with a toothpick, it's not exactly indestructible. Altered cards will always be sleeved, and handled with a bit more care, but a nice layer of varnish (or two.. I usually only do one, so as not to warp it or something, but it might work), will help it stay fresh and pretty for years to come.
It's what's for breakfast!
And that's it. I'm not too sure what didn't get covered.
A few more things: Try and work in a well-lighted area. You aren't just sketching something out in black and white, you are sitting 3 inches away from a tiny piece of cardboard, trying to match colors. You shouldn't be making it any harder on yourself.
This took about 2 hours. You should make whatever artistic alterations you want (something bleeding into the textbox, etc), if you feel you want to do it. Besides the original artist, you are taking this card to another level, so have fun, and do it justice!
Also, there has been some discussion on whether the artist's name should be left on the card. It *usually* looks better without some random block of unpainted card at the bottom, but the point is still valid. I've personally dropped the name on most commissions, as they usually ask me not to include it, but if I were selling it more publicly (like on an auction site), I would definitely keep it as legitimate as possible.
I try and leave my initials somewhere on the card, just to make sure it doesn't get resold, etc. I don't see this happening yet, but as this "profession" takes off, there are bound to be some bad seeds.
A rule of thumb is that the higher priced the card is alone, that generally means a well sought after card. An altered, cool looking version of a chase rare will always mean more demand than some average common. There are a few ways you can get more money for your average common (custom paint job, a truly exceptional job, or a "chase" common like Oblivion Ring), but you get the picture. Supply and demand is already rediculous for some cards (like Thoughtseize), that making a unique version is just gravy for collectors.
And last, but not least, have fun! The cards produced are one of a kind, and do look amazing, but you can always tell when someone was genuinely proud of the work they've done, and what was just blown out in a minute for money. If you are getting paid to do it, great. But making unique Magic cards is certainly an awesome acheivement, and I'm glad to be a part of it!
Thanks for reading! Again, let me know if I've missed something, or if there are any glaring flaws in my logic, thinking, or art.